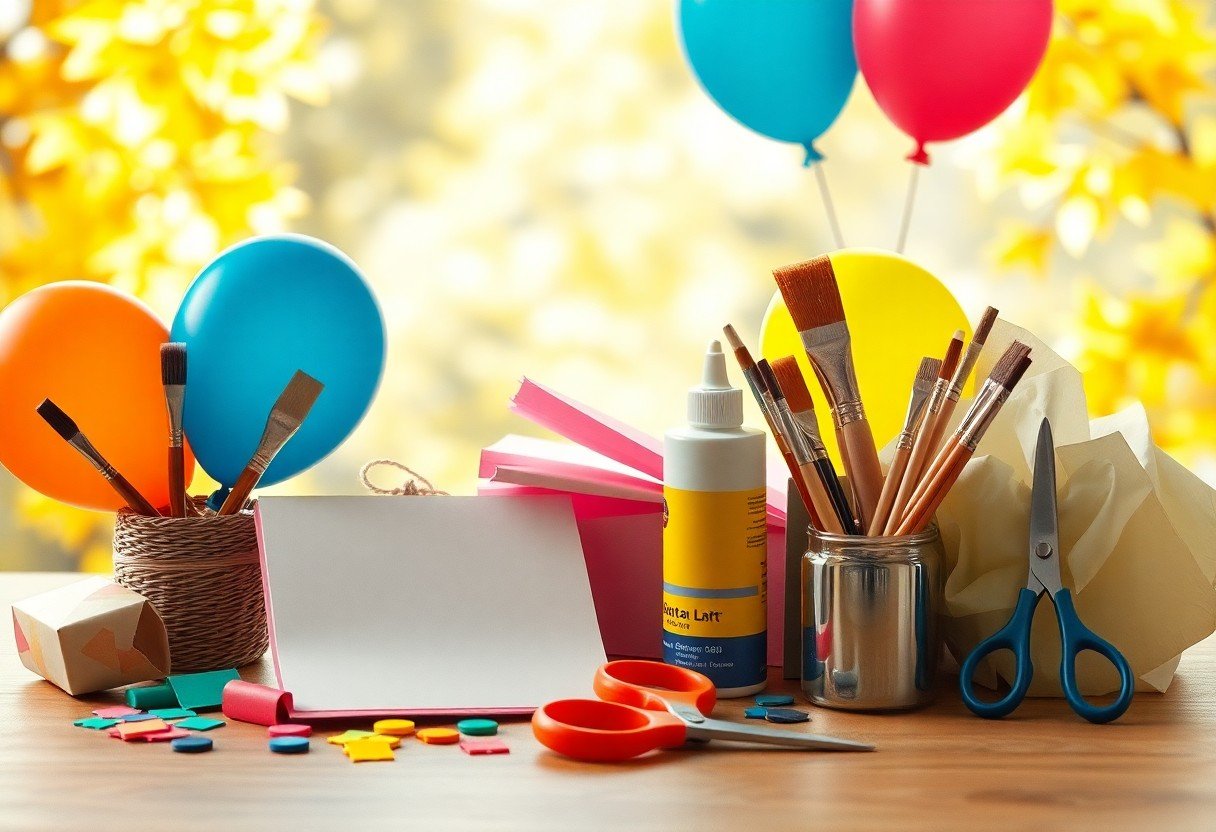
As you commence on your seasonal papier mache projects, safety should be your top priority. You will need protective gear such as gloves and a mask to avoid toxic fumes and skin irritation. Your basic supplies should include flour, water, and newspaper to create the papier mache mixture. You can also add colorful paints and decorations to make your projects more visually appealing and unique. With these important supplies, you can create beautiful and durable seasonal decorations.
Key Takeaways:
To create stunning seasonal papier mache projects, it’s necessary to have the right materials on hand. Here are the key points to consider:

- Invest in high-quality paper products, such as newspaper, cardboard, or tissue paper, which serve as the foundation for papier mache creations.
- Gather a variety of adhesives, including glue, flour paste, or decoupage medium, to bind and hold the paper layers together.
- Use watercolors or acrylic paints to add vibrant colors and textures to the finished projects, enhancing their visual appeal.
- Apply varnish or sealant to protect the papier mache from moisture and extend its lifespan.
- Utilize balloons, cardboard boxes, or other objects as base shapes to create unique and intricate designs.
- Experiment with embellishments, such as glitter, sequins, or ribbons, to add a touch of personality to the seasonal projects.
- Stock up on workshop tools, including scissors, brushes, and smoothers, to facilitate a smooth and efficient creative process.
Seasonal Theme Selection
Before starting your papier mache project, you need to select a theme that fits the current season. This will help you decide on the colors, shapes, and designs to use, making your project more cohesive and visually appealing. You can choose from a variety of themes, such as winter, spring, summer, or autumn, and adapt them to your project’s needs.
Choosing the Right Theme for Your Papier Mache Project
Across the various seasons, you’ll find that each one offers a unique set of themes and ideas to inspire your papier mache project. You can consider the colors and symbolism associated with each season to help you make a decision. By doing so, you’ll be able to create a project that’s not only beautiful but also meaningful and personalized to your tastes.
Popular Seasonal Themes for Inspiration
Between the different seasons, you’ll find a wide range of themes to choose from, such as Christmas decorations for winter, Easter eggs for spring, and Halloween decorations for autumn. These themes can serve as a great starting point for your papier mache project, and you can always add your own creative twist to make it more interesting.
Hence, as you explore the various seasonal themes, you’ll discover that each one offers a unique set of possibilities for your papier mache project. You can use bright colors and bold shapes to create a summer-themed project, or opt for muted tones and natural textures to create a winter-themed one. By considering your personal preferences and the seasonal theme, you can create a papier mache project that’s not only beautiful but also meaningful and visually striking.
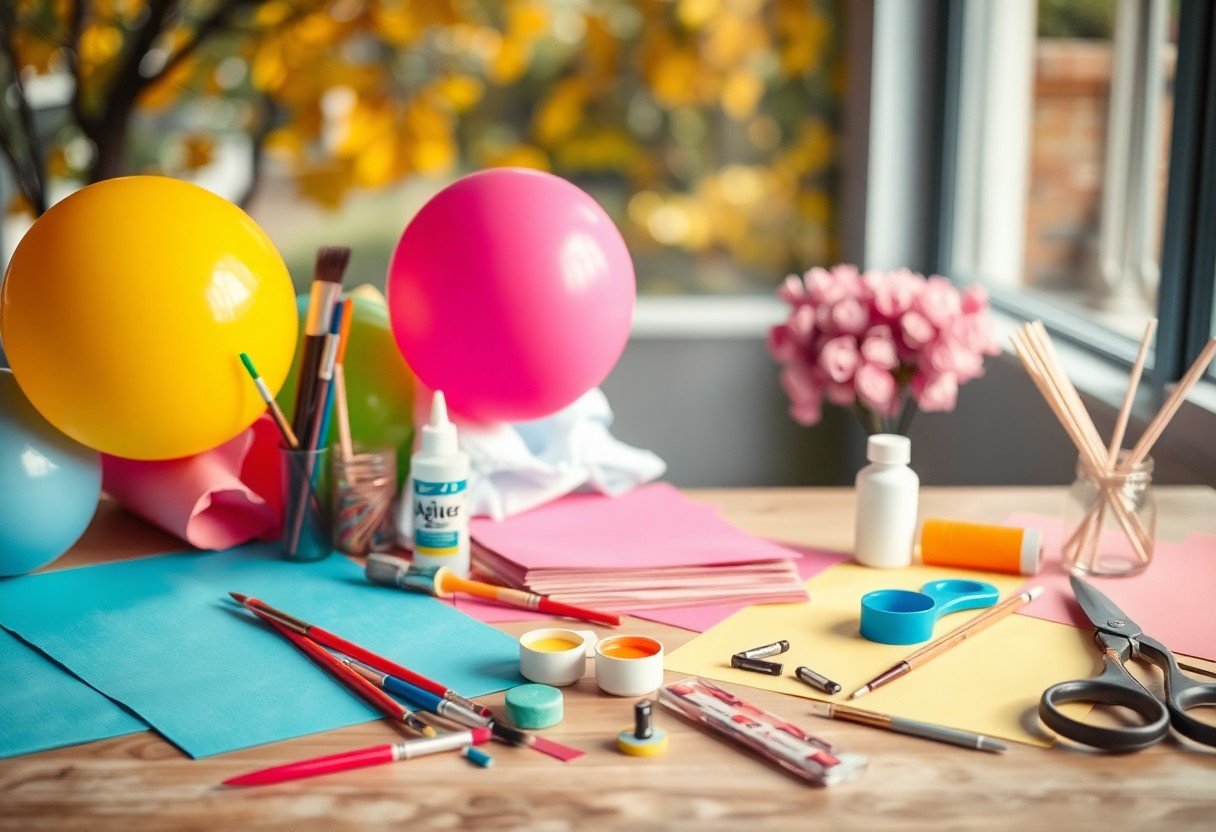
Essential Supplies
The foundation of any successful papier mache project lies in the quality of your supplies. You will need a variety of materials to get started, including paper, glue, and other basic craft tools. As you prepare for your seasonal project, consider investing in high-quality supplies that will ensure a durable and long-lasting finish.
Papier Mache Paste and Materials
Paper-based projects require a strong adhesive to hold them together. You will need to create or purchase a reliable papier mache paste to bind your materials together. This will provide a strong foundation for your project, allowing you to shape and mold your creation with ease.
Decorations and Embellishments for a Seasonal Touch
With the right decorations and embellishments, you can add a personalized touch to your seasonal papier mache project. You can use items like paint, glitter, and ribbons to give your project a unique and festive look that reflects the current season.
In fact, the decorations and embellishments you choose can make or break the overall appearance of your project. As you select your materials, consider the safety of your supplies, especially if you are working with flammable or toxic materials. By choosing non-toxic and environmentally friendly supplies, you can ensure a safe and enjoyable crafting experience, while creating a beautiful and durable piece of art that you can proudly display in your home.
Paper and Fabric Options
Despite the variety of materials available, paper and fabric are imperative components of papier mache projects.
Types of Paper for Papier Mache
You can use
- newspaper
- construction paper
- tissue paper
for your projects. This variety allows you to experiment with different textures and colors.
| Paper Type | Description |
|---|---|
| Newspaper | Absorbs glue well |
| Construction Paper | Vibrant colors |
| Tissue Paper | Delicate texture |
| Cardstock | Durable base |
| Watercolor Paper | Texture and durability |
Incorporating Fabric for Texture and Interest
Papier mache projects can benefit from fabric inclusions. You can add fabric scraps, lace, or ribbons to create unique textures.
Texture is a key element in papier mache, and you can achieve this by incorporating fabric into your design. You will be able to create visually appealing and dimensional pieces by combining paper and fabric, and this will allow you to add depth and interest to your projects, making them more engaging and beautiful.
Tools and Equipment
Not all projects require a vast array of tools, but having the right ones can make a significant difference in the quality of your papier mache creations. You will need a variety of tools to shape, mold, and finish your projects.
Basic Tools for Shaping and Molding
Equipment such as scissors, craft knives, and spatulas are imperatives for any papier mache project, allowing you to cut, shape, and smooth out your creations with ease and precision.
Specialized Tools for Details and Finishing Touches
By utilizing detail brushes, sandpaper, and files, you can add intricate details and smooth finishes to your projects, giving them a professional look and feel.
Shaping your papier mache projects into masterpieces requires attention to detail and the right tools for the job. You can use modeling tools to create textures and patterns, and paintbrushes to add vibrant colors and finishing touches. Always handle your tools with care, as sharp edges and pointed tips can be hazardous if not used properly.
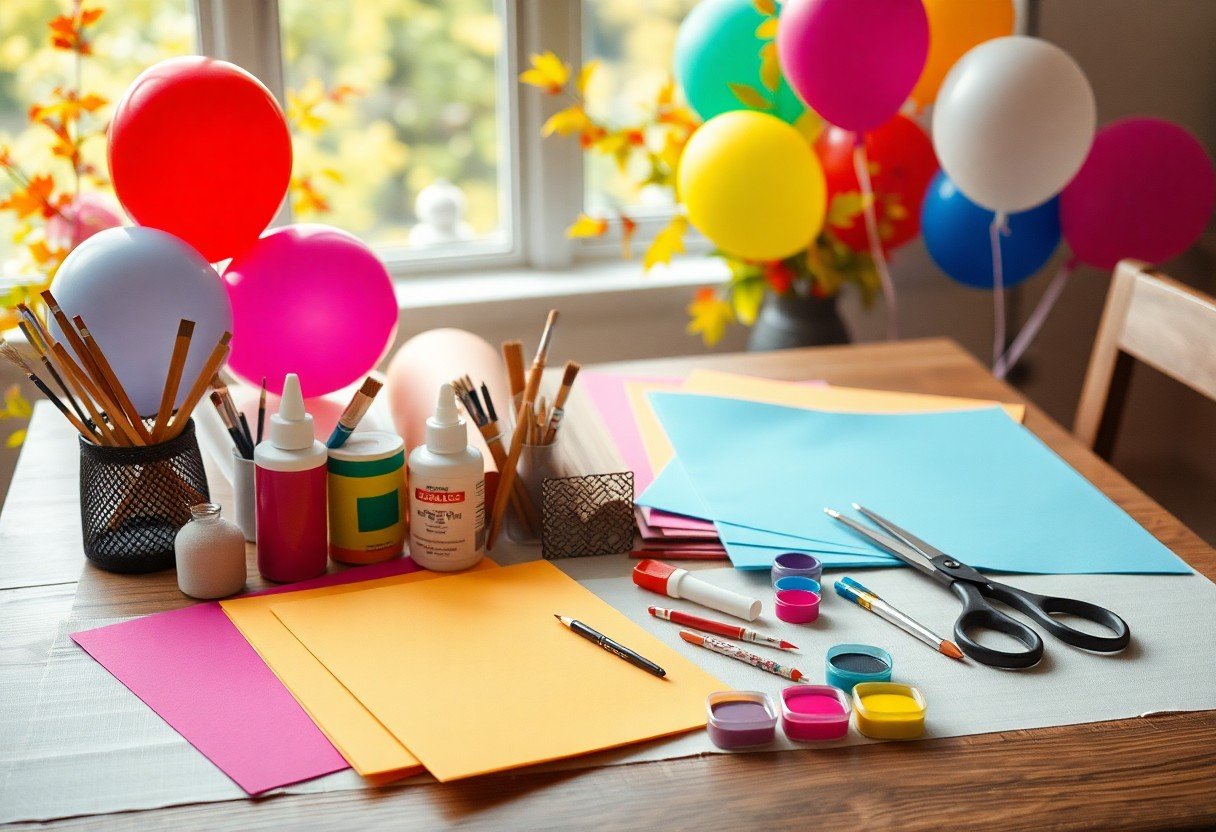
Project Ideas and Inspiration
Now that you have your crucial art and craft supplies, it’s time to explore project ideas and inspiration for your seasonal papier mache projects. You can find inspiration in nature, holidays, and personal interests to create unique and meaningful pieces.
Simple Projects for Beginners
Beneath the surface of complex projects, you’ll find simple ideas perfect for beginners, such as decorating small objects like boxes or creating holiday-themed ornaments, allowing you to develop your skills and build confidence in your craft.
Complex Projects for Experienced Crafters
Above the basics, you’ll discover more intricate projects that challenge your skills, such as creating large-scale sculptures or detailed models, which require patience and attention to detail, but yield impressive and professional-looking results.
With complex projects, you’ll have the opportunity to showcase your creativity and talent, and push the boundaries of what’s possible with papier mache. As you work on these projects, you’ll develop a deeper understanding of the medium and its limitations, and learn to trouble shoot common issues, such as cracking or peeling, to achieve a smooth and durable finish.
Tips and Tricks
All papier mache artists know that having the right techniques is important, consider the following:
- Layering
- Drying
Recognizing your limits will help you to create a better project.
Common Mistakes to Avoid
Always be aware of weak spots in your papier mache project, as they can lead to damage and breakage.
Techniques for Achieving a Professional Finish
Fortunately, achieving a professional finish is within your reach, using the right tools and materials will help you to create a beautiful and long-lasting piece.
With practice and patience, you can master the techniques for achieving a professional finish, your papier mache projects will be admired by everyone, and you will be able to create complex and intricate designs with ease, making you a skilled papier mache artist.
Final Words
So, as you begin on your seasonal papier mache projects, you will find that having the right art and craft supplies is necessary to bringing your ideas to life. You can now confidently gather your materials, knowing that you have the necessary tools to create unique and beautiful pieces. With your imagination and these supplies, you will be able to craft stunning seasonal decorations that reflect your personal style and add a touch of elegance to your home.
FAQ
Q: What are the basic art and craft supplies needed for seasonal papier mache projects?
A: The basic art and craft supplies needed for seasonal papier mache projects include papier mache paste, water, balloons, paper strips or tissue paper, scissors, glue, paint, and a surface to work on. Depending on the specific project, you may also need additional materials such as wire, fabric, or decorative items.
Q: What types of paper are best to use for papier mache projects?
A: The best types of paper to use for papier mache projects are those that are thin and absorbent, such as newspaper, tissue paper, or paper strips. You can also use cardboard, construction paper, or magazine cutouts for added texture and interest. Avoid using thick or glossy papers, as they may not adhere well to the papier mache paste.
Q: How do I make papier mache paste for my seasonal projects?
A: To make papier mache paste, you can mix together 2 tablespoons of flour, 1 tablespoon of water, and 1 tablespoon of white glue. Stir the mixture until it is smooth and free of lumps. You can also add a pinch of salt to help prevent mold and mildew. For a stronger paste, you can use a mixture of water and white glue, or add a small amount of glycerin to help prevent cracking.
Q: What are some seasonal themes and ideas for papier mache projects?
A: Some seasonal themes and ideas for papier mache projects include Halloween ghosts, Christmas ornaments, Easter eggs, and summer flower planters. You can also create seasonal decorative items such as snowflakes, leaves, or pumpkins. Use your imagination and creativity to come up with unique and festive ideas that reflect the current season.
Q: How do I add color and decoration to my papier mache projects?
A: You can add color and decoration to your papier mache projects using a variety of techniques, such as painting, drawing, or decoupage. Use acrylic or tempera paint to add bold colors and patterns, or try using natural dyes such as coffee or tea to create a more subtle look. You can also add decorative items such as glitter, stickers, or sequins to give your project a festive touch.
Q: How long does it take for papier mache to dry and harden?
A: The drying and hardening time for papier mache can vary depending on the thickness of the application and the ambient temperature and humidity. On average, it can take anywhere from a few hours to several days for papier mache to dry and harden completely. To speed up the process, you can use a fan or a hair dryer on a low setting, or apply multiple thin layers of papier mache paste, allowing each layer to dry before adding the next.
Q: How do I seal and protect my finished papier mache projects?
A: To seal and protect your finished papier mache projects, you can use a clear coat of varnish or Mod Podge. Apply a thin layer to the surface of the project, allowing it to dry completely before handling. You can also use a waterproof sealant or a clear acrylic spray to add an extra layer of protection. This will help to prevent damage from moisture or wear and tear, and keep your papier mache project looking its best for years to come.
